Although it is not necessary, if you have not updated your system for a while then run the given command. It will refresh the package manager cache as well.
sudo dnf updateAs we don’t have a PHP-zip extension to install directly from the system repository of Amazon Linux 2023 while writing this article, we will install it using PECL, which is a repository for PHP Extensions. And for that, we need the packages given in the following command:
sudo dnf install php-devel php-pear libzip libzip-develOnce you are done and got the PECL using the previous command of this tutorial, we can use it for installing the ZIP extension of PHP. On your terminal run:
sudo pecl install zipThe module will be installed under /usr/lib64/php8.2/modules. Note: replace php8.2 with the version you currently have on your system of PHP, if you want to check. Now, to enable it, create an INI file for the module, here is the command to do that:
echo "extension=zip.so" | sudo tee /etc/php.d/20-zip.iniTo apply the changes you have made and make the ZIP extension discoverable by your web application, restart the HTTPD and PHP-FPM services on your Amazon Linux:
sudo systemctl restart httpdsudo systemctl restart php-fpmThere are multiple ways to verify the extension we have installed is enabled to use for PHP-based applications or not, here are a few:
Method 1# Using PHP command:
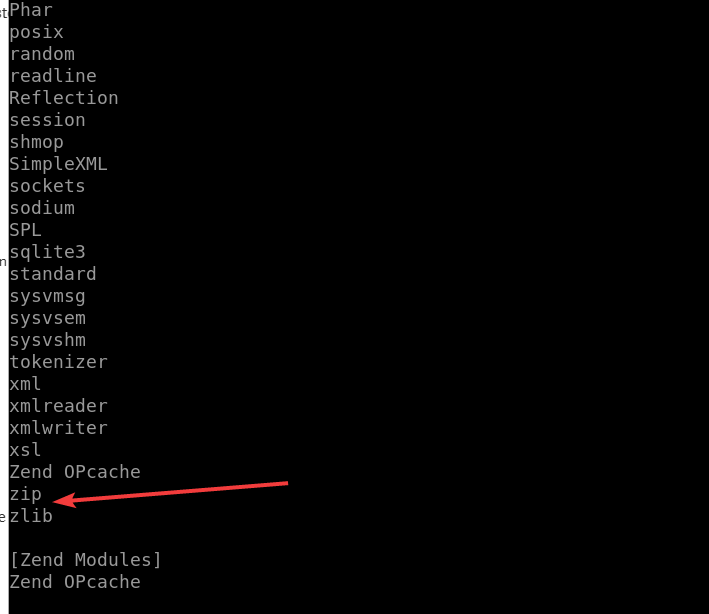
php -mYou will see the list of PHP extensions installed on your system
You need to login in order to like this post: click here
YOU MIGHT ALSO LIKE

SUBSCRIBE TO OUR NEWSLETTER
