1. Press on the “Windows” + “R” key. When the “Run” window pops up, type this command in its search field: diskmgmt.msc.
2. Hit the “Enter” key and “Disk Management” will be launched.
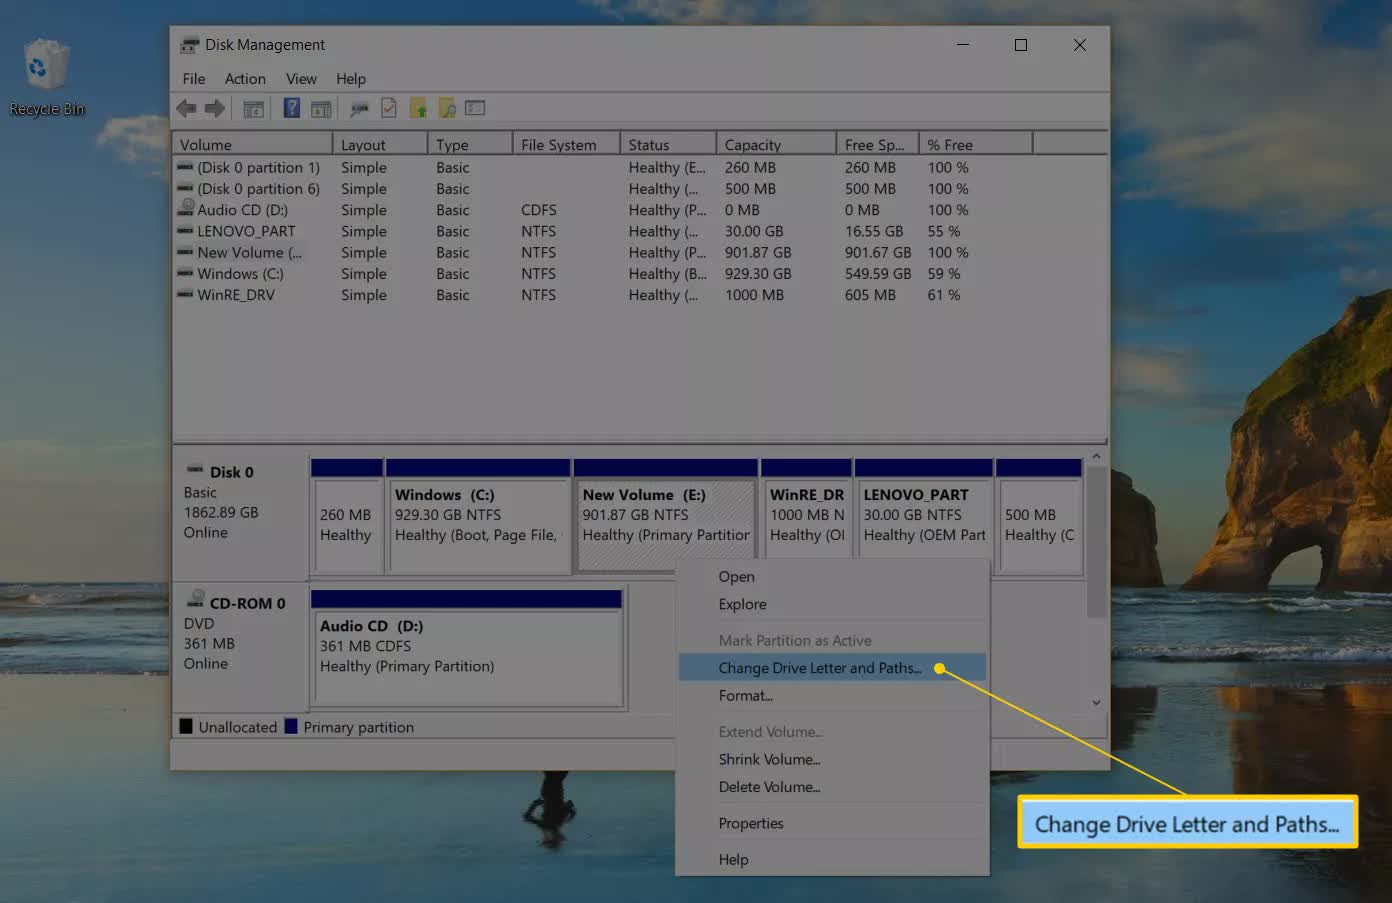
3. You will see a list of drives in the “Disk Management” window. Pick out the one you want to change the letter of, then right-click on it and select “Change Drive Letter and Paths.”
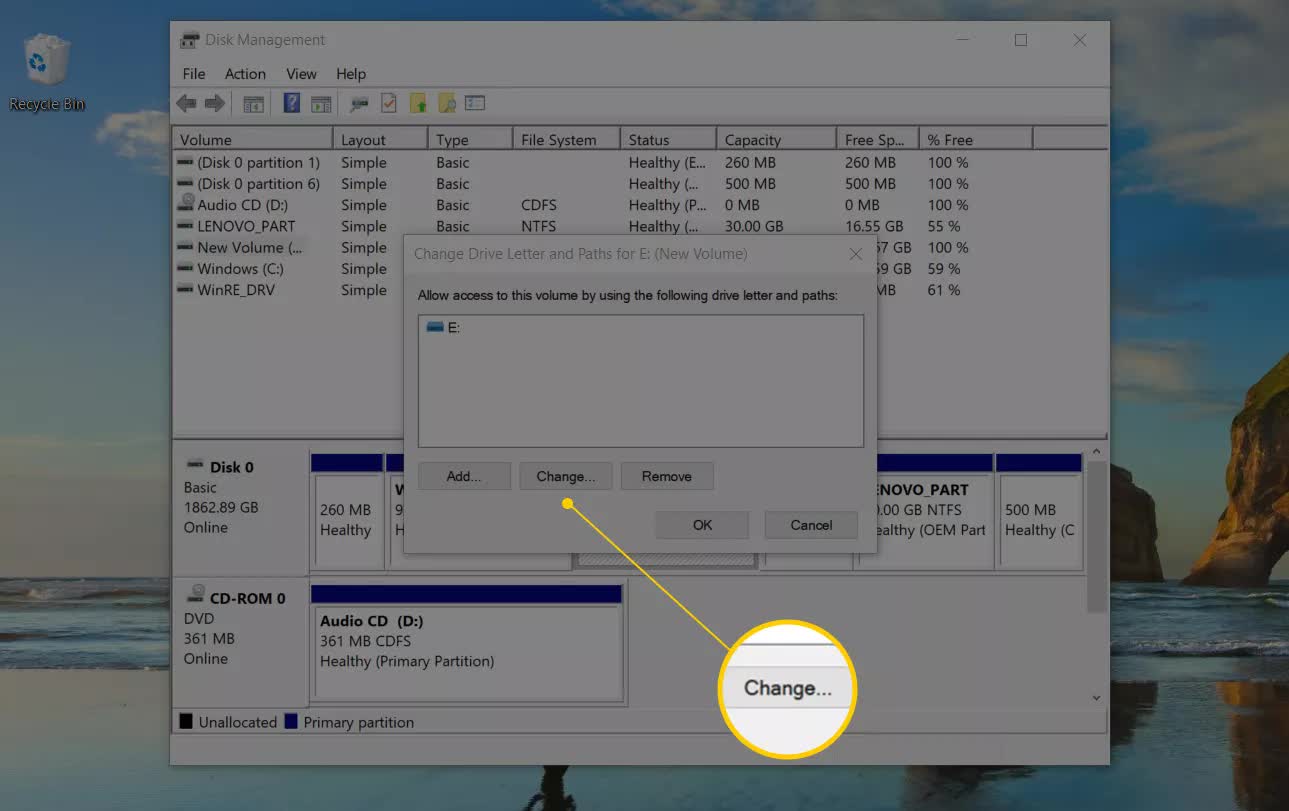
4. Click on “Change” and another window will open up.
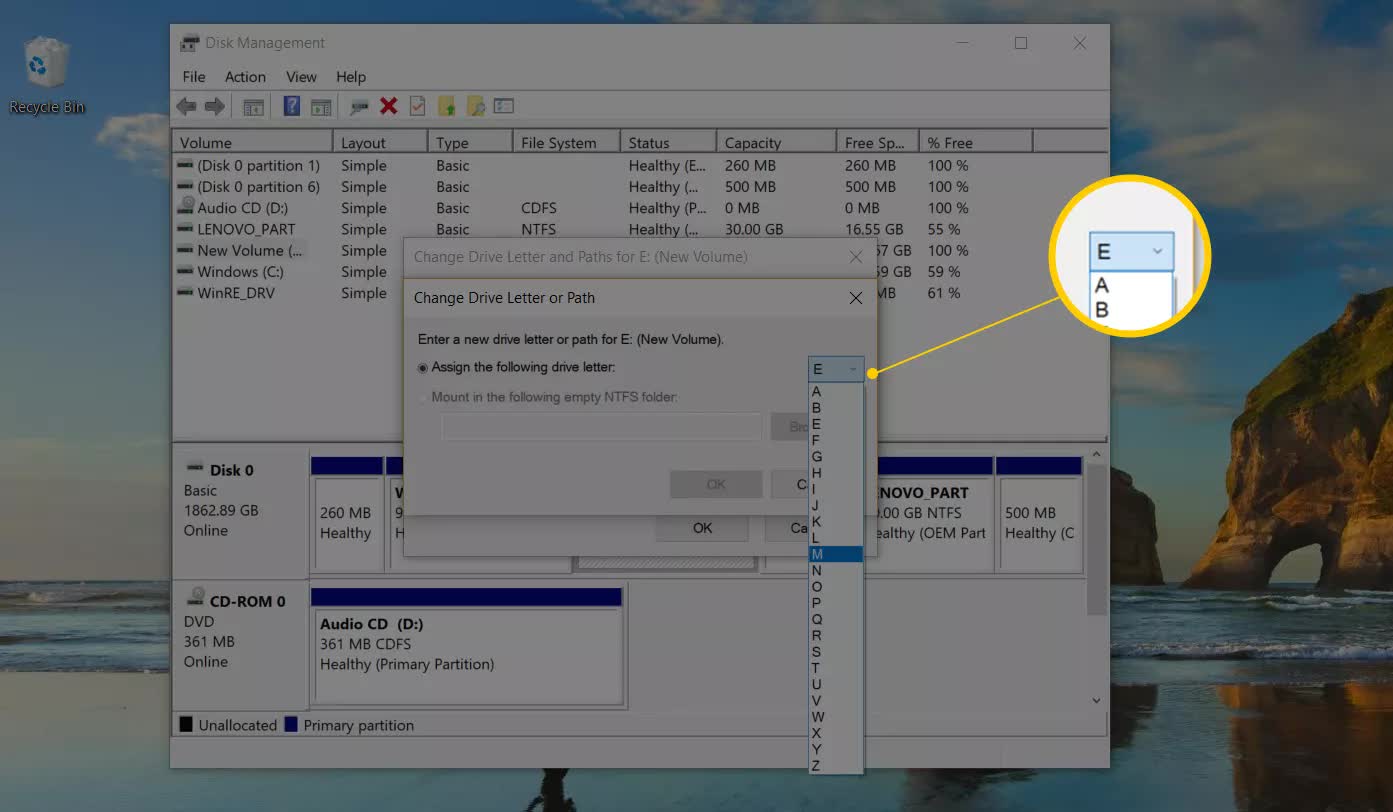
5. Right beside the “Assign the following drive letter” option, you will see a drop-down menu. Select the drive letter you want Windows to give the storage device from this menu.
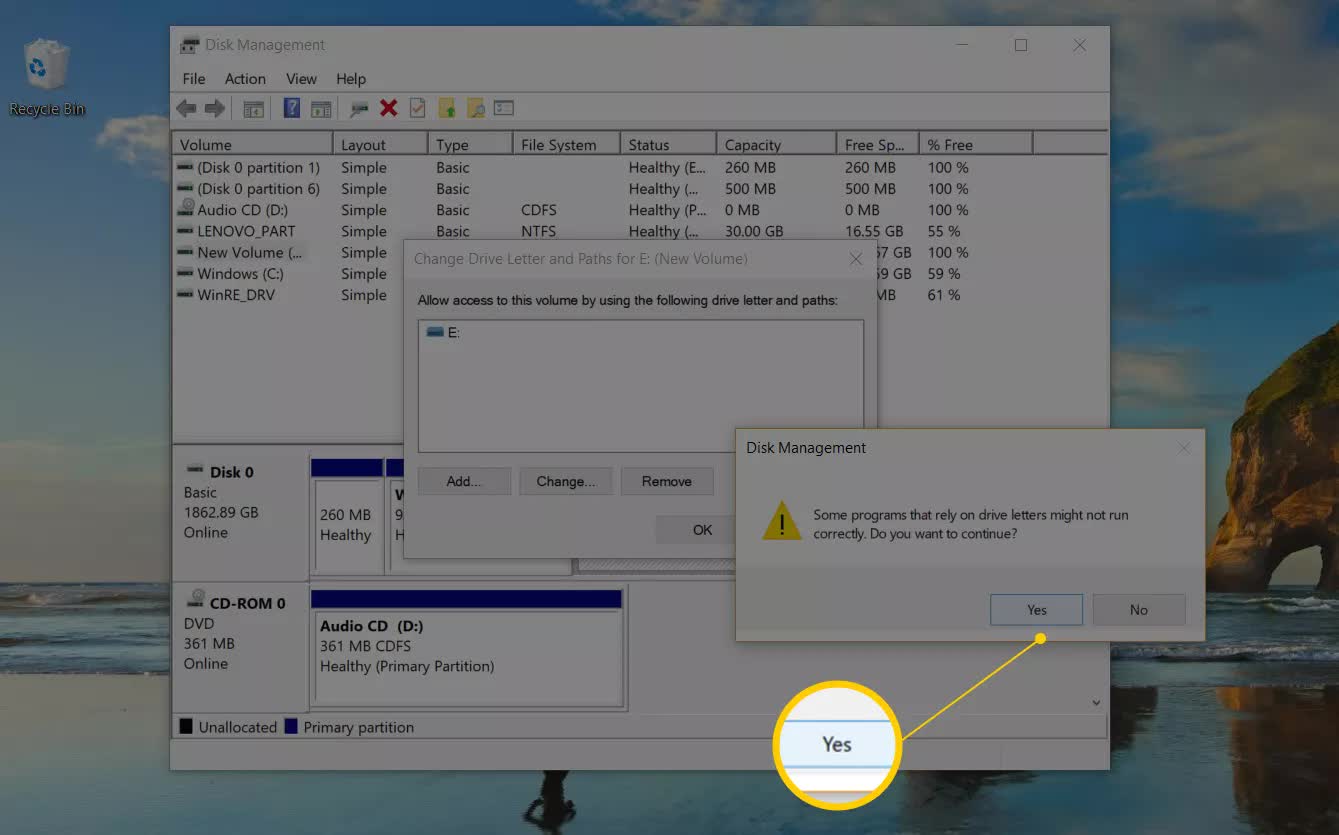
6. Click on “OK” and select “Yes”. Close “Disk Management” and your drive will now be bearing a brand-new letter.
1. Press “Windows” + “S”, then type in “cmd” in the search field you see. Click on “command prompt”. After the command prompt opens up, right-click on it, and select “Run as administrator.”
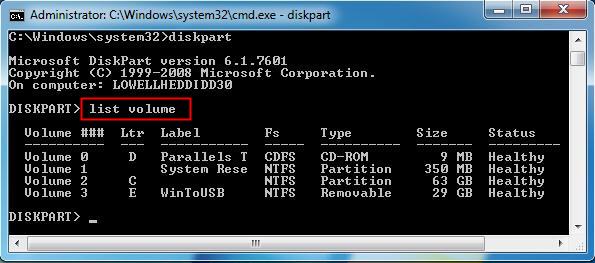
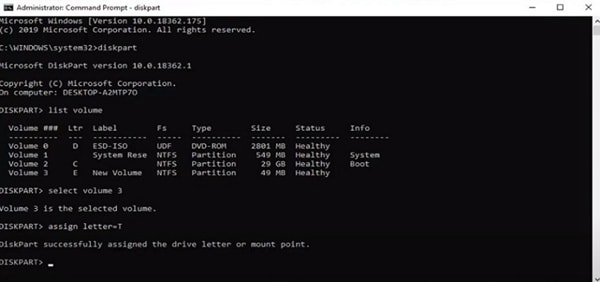
2. Type diskpart in the command window and hit “Enter”, then type list volume and press “Enter” again. You will see a list of simple volumes under “Volume ###.”
3. One of them will be the drive you want to assign a new letter. Knowing which of them is the drive shouldn’t be too hard. Just look at each of their corresponding sizes under the “Size” category.
4. Choose the volume and hit “Enter”, then type assign letter=R and hit “Enter” one more time.

5. If you want to remove the letter and perhaps replace it with another one, type removes letter=R. And that’s it. Close the “command prompt” tool and restart your PC and you should see your drive rocking the new letter you just assigned to it.
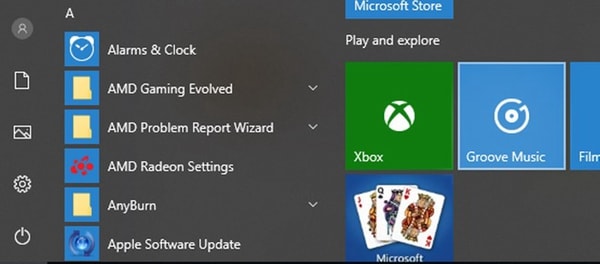
1. Press the “Windows” key and type “Windows PowerShell” in the search bar. Right-click on the program in the search results and choose “Run as administrator.”
2. Type Get-Disk in Windows PowerShell to identify the particular hard drive you want to assign the new drive letter to. Press “Enter.”
3. Once you select the drive, type the following command and hit “Enter” to assign the drive letter to the drive: Get-Partition -DiskNumber 1 | Set-Partition -NewDriveLetter G
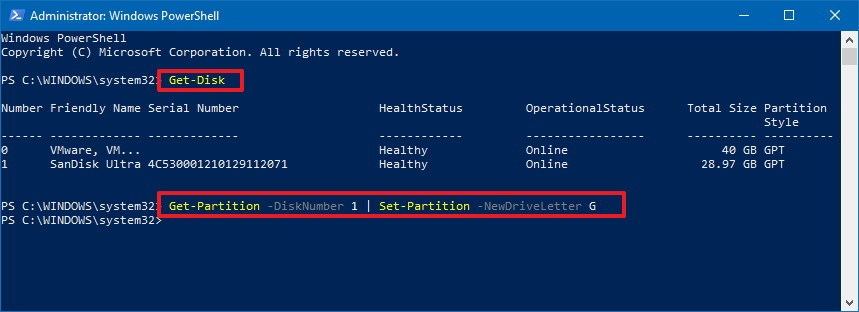
Take note of this: In the command up there, replace “1” with the disk number of the drive to be formatted; the letter “G” in the same command represents the drive letter to be assigned to the drive, so you can change it to the letter you prefer.
Are you looking to change your drive letter in Windows 11/10? You are in the right place. This task can help a lot to better organize your devices and to better remember what content is stored on each of them. The procedure is very simple and you can do it in two ways. In this post you will know how to do it and you will also be advised to avoid changing the letter of your C Drive.
The first way to change your drive letter is using CMD tool. You can perform this task in just some minutes through the following steps:
Step 1: Open CMD
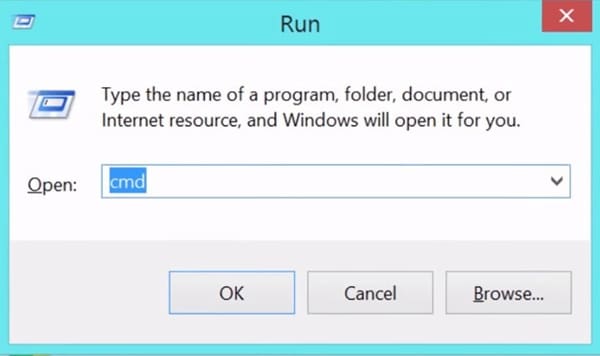
Hold Windows key and press “R” to open Run tool. Now type “cmd” and press “Enter.” Command Prompt will run immediately.
Step 2: Write the commands
Once you opened Command Prompt, type the following commands. Please don’t forget to press “Enter” after each one.
Another way to change your drive letter is through Windows settings. This task is a little bit slower than the last one but if you don’t like to use CMD, this will fit better to you. To change your drive letter through Windows settings, please do the following:
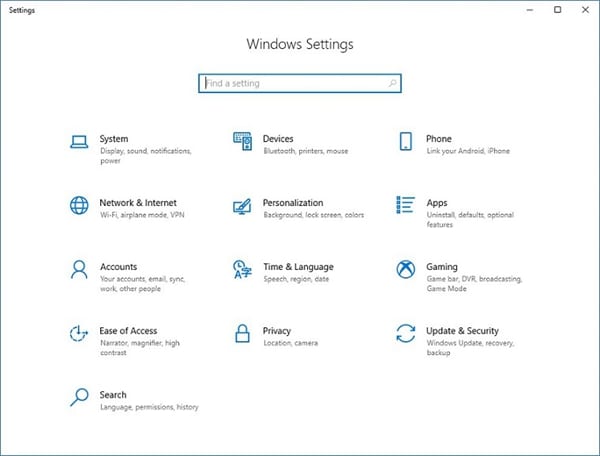
Step 1: Open Windows settings
Press Windows key and click the gear icon to open Windows settings.
Step 2: Open “System” page
On Windows Settings, click “System.”
Step 3: Open “Manage Disks and Volumes”
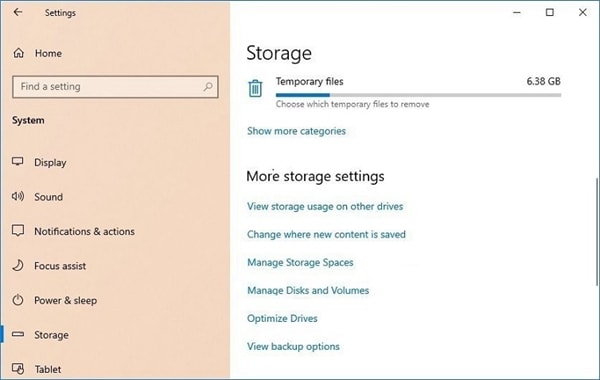
Once you are on “System” page, click “Storage” and then click “Manage Disks and Volumes.” This will open the page where you will change the drive letter.
Step 4: Open drive “Properties”
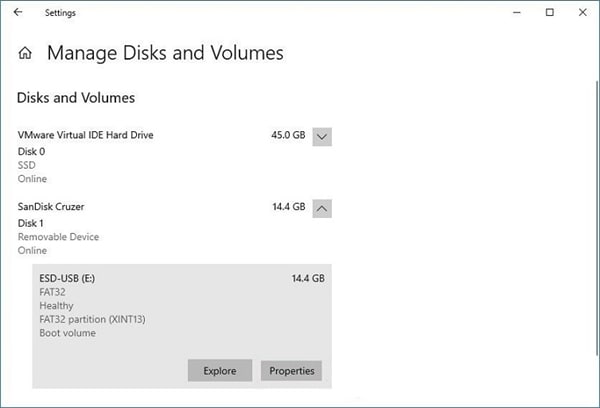
Go to the drive you want to change letter and click “Properties.”
Step 5: Click “Change drive letter”
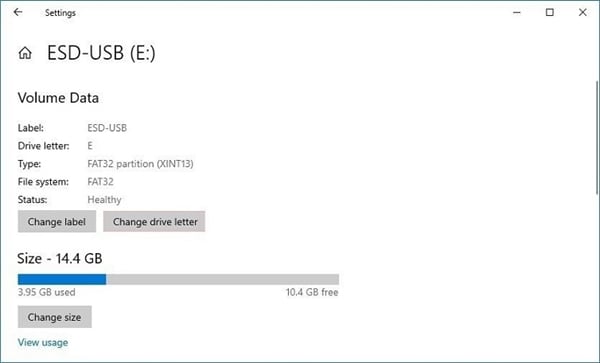
Within Volume Data section, click “Change drive letter.”
Step 6: Type new drive letter
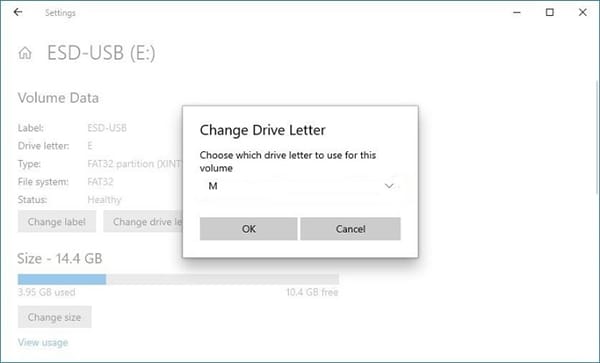
On this window, click the arrow next to the letter and you can select a new one. Finally, click “OK” and the drive letter will be changed.
If you want to change the letter of the Operating System Drive (C Drive), you will generate problems in your operating system. If you do, Windows will not start because the corresponding files are encrypted and cannot be changed.
In fact, if you try to do this process through Disk Management you will get the message “Some programs that rely on drive letters might not run properly,” so it is not recommended that you continue. Even if you don’t have important information or you have just installed Windows, I do not advise you to do so and you will avoid to get multiple problems.
You need to login in order to like this post: click here
YOU MIGHT ALSO LIKE

SUBSCRIBE TO OUR NEWSLETTER